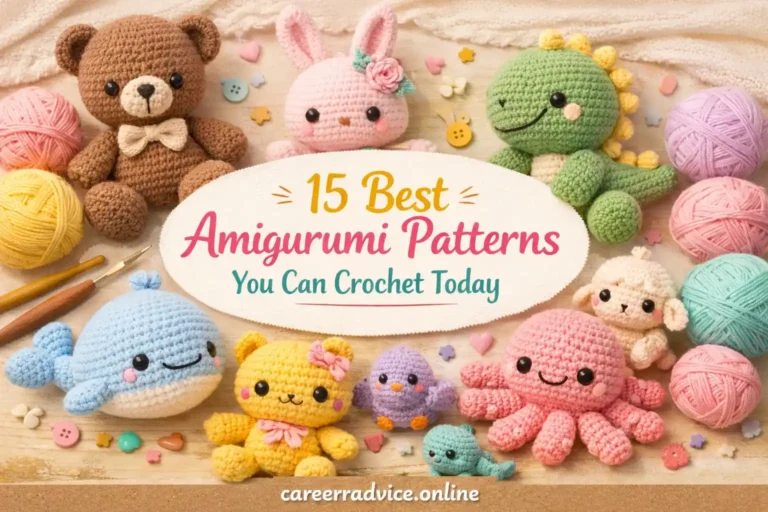
A creative blog filled with crochet patterns, beginner-friendly tutorials, and a handful of delicious recipes.
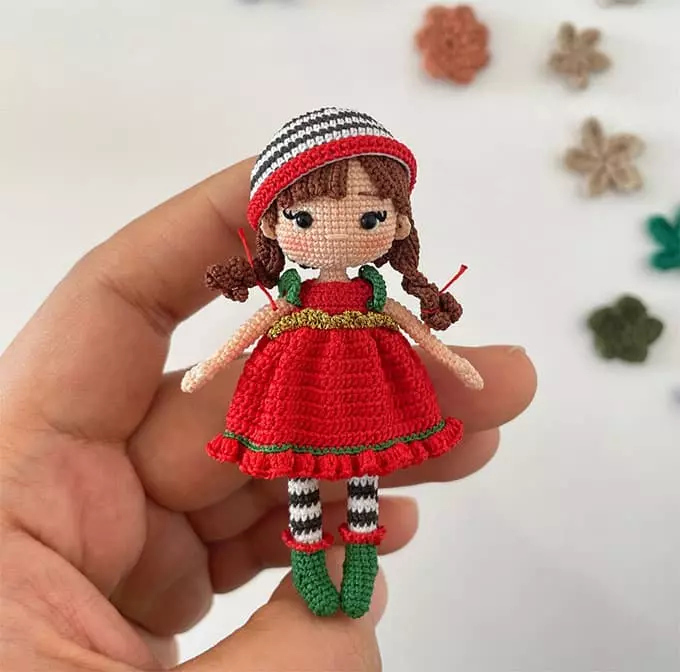
Free Crochet Masterclass: Christmas Doll Eva by @missgurumii
In this tutorial, you can crochet a Christmas doll named Eva, wearing a festive New Year’s dress. For amigurumi, we recommend using YarnArt Canarias or Leylak 4-ply yarn, but you can also substitute it with any similar yarn that has a 200m per 20g meterage. To give the dress a more festive look, glittery metallic threads, such as gold or green, will be perfect.
The doll ends up being quite small, but if you want to make it larger, you can use thicker yarn and a bigger hook.
Materials and Tools
- Yarn: Leylak 8515 (red), 1108 (skin tone), 1105 (brown), 1180 (anthracite), 66 (green), white (can be substituted with YarnArt Canariás)
- Embroidery thread for eyes
- Crochet hook 0.55 mm
- 2.5mm safety eyes
- Toy stuffing
- Stitch markers
- Pins
- Fabric glue
- Tweezers
- Needle for attaching details
- Scissors
You can purchase everything you need [here].
Crochet Abbreviations
- KA – Magic ring
- ch – Chain stitch
- sc – Single crochet
- dc – Double crochet
- hdc – Half double crochet
- inc – Increase
- dec – Decrease
- blo – Back loop only
- flo – Front loop only
- (…) x n – Repeat n times
Amigurumi Crochet Pattern for the Christmas Doll Eva
Head and Body
We begin with the skin color for the body.
- Row 1: 6 sc in a magic ring (6)
- Row 2: (1 sc, inc) x 3 (9)
- Rows 3-4: 9 sc (9) for 2 rows
- Row 5: 3 dc in one stitch, 8 sc (9)
- Row 6: dec, 7 sc (8)
- Rows 7-21: 8 sc (8) for 15 rows
Ears
- Row 1: 6 sc in a magic ring
Attach the ears to the head at a distance of 7 stitches from the eyes after inserting the safety eyes. It’s easier to attach the ears before stuffing the head.
Legs (Green Yarn)
- Row 1: 6 sc in a magic ring (6)
- Row 2: 6 inc (12)
- Rows 3-6: 12 sc (12) for 4 rows
- Row 7: 6 sc, turn
- Row 8: 12 sc (12)
- Rows 9-11: 12 sc (12) for 3 rows
Begin stuffing the legs.
Switch to white yarn for the following rows:
- Row 12: blo 12 sc (12)
- Row 13: 12 sc (12)
Switch to black yarn for the next rows:
- Rows 14-15: 12 sc (12) for 2 rows
Switch back to white yarn:
- Rows 16-17: 12 sc (12) for 2 rows
Switch to black yarn:
- Rows 18-19: 12 sc (12) for 2 rows
Continue alternating between white and black yarn for the following rows, creating alternating stripes:
- Rows 20-29: 12 sc (12) for 10 rows
For the first leg, cut the yarn, but leave the second leg attached. Join the two legs and continue crocheting the body.

Shoe Ruffles (Red Yarn)
- Insert the hook into the 12th row and crochet: (1 sc, 2 ch) x 12, repeat until the end.
Body and Head
- Row 30: Make 5 ch. 12 sc in the first leg, 5 sc in the chain, 12 sc in the second leg, 5 sc in the chain (34 stitches)
Place a stitch marker at the back of the body.
- Row 31: 6 sc, inc, 15 sc, inc, 11 sc (36)
- Rows 32-35: 36 sc (36) for 4 rows
Continue with the decreases and shaping the body.
Arms
Begin crocheting the arms and stuff the body as you go. The stitch marker should be positioned exactly at the center of the back.
Final Body Shaping
Continue with the decreases for the remaining rounds until the body reaches the desired size.
Dress for the Doll
Leave a long yarn tail before you start crocheting the dress.
- Row 1: Make 26 ch, from the second ch from the hook: 3 sc, 3 sc in the stitch, 4 sc, 3 sc in the stitch, 7 sc, 3 sc in the stitch, 4 sc, 3 sc in the stitch, 3 sc (33 stitches)
Continue crocheting in the round, beginning each row with 1 ch.
- Row 2: 5 sc, 6 hdc, 11 sc, 6 hdc, 5 sc (33)
- Row 3: 5 sc, 6 ch, skip 6 stitches, 11 sc, 6 ch, skip 6 stitches, 5 sc (33)
Continue with the rest of the dress pattern.

Hair
Start crocheting with brown yarn.
- Row 1: 6 sc in a magic ring (6)
- Row 2: 6 inc (12)
Continue adding rows to form the strands of hair. Use the appropriate number of stitches for each strand.
Hat for the Doll
Each row begins with 2 ch and ends with sl st. Change yarn color at the end of each row.
- Row 1: 8 hdc in a magic ring (8)
- Row 2: 8 inc (16)
- Row 3: (1 hdc, inc) x 8 (24)
- Row 4: (2 hdc, inc) x 8 (32)
Continue with the remaining rows to complete the hat.

Final Touches
- Attach the eyes and sew the ears after inserting the eyes.
- Embroider the nose and eyebrows, and finalize any other details.
- Secure the yarn ends and assemble the parts as needed.