A creative blog filled with crochet patterns, beginner-friendly tutorials, and a handful of delicious recipes.
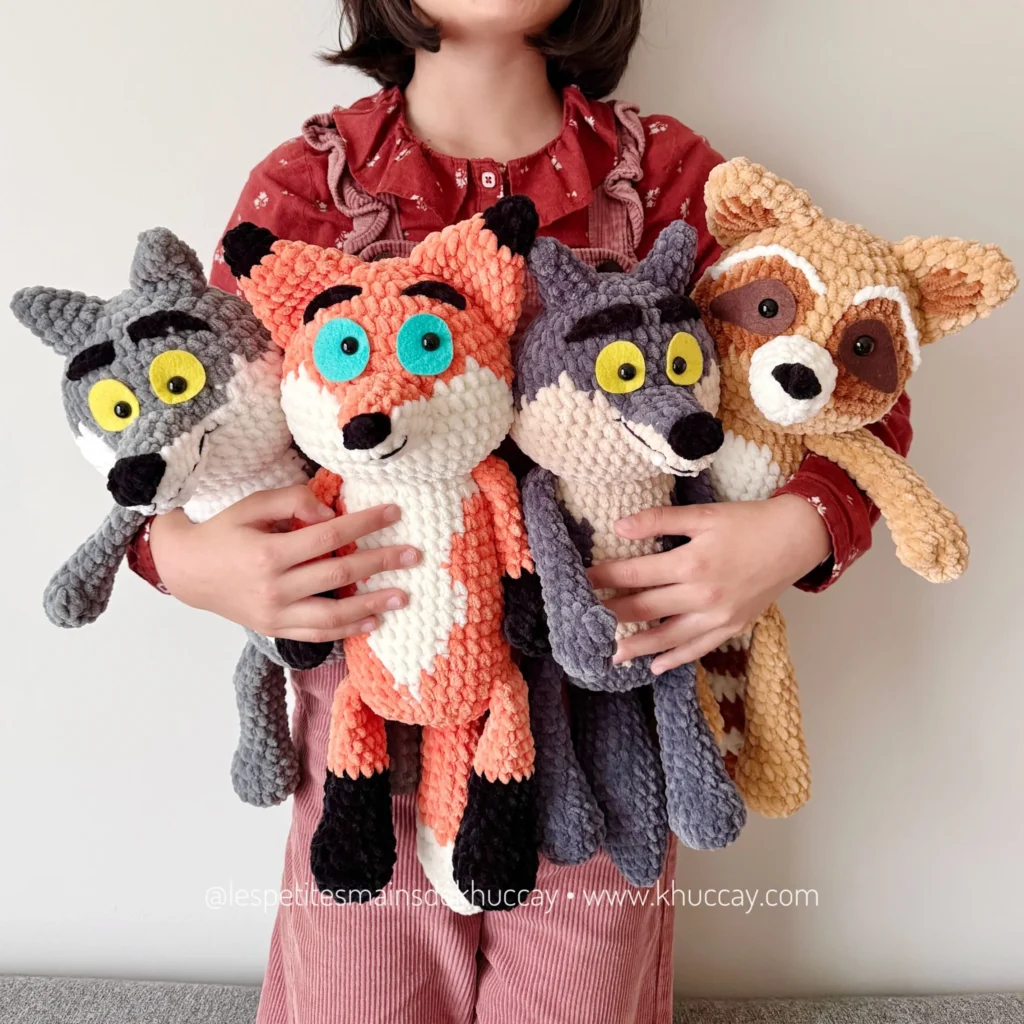
How to Customize Your Plush Toy
1. Choose the Colors
Choosing colors is the simplest and most popular way to personalize your plush toys.
Here are the colors I use for the fox:
Hobbii Honey Bunny – Orange 33 (2 skeins), Black 124 (1 skein)
Hobbii Baby Snuggle Solid Cream 02 (1 skein)
DMC Happy Cotton – Black (small amount)
Or Katia Orange 333, Cream 305, Black 315
And here are the ones I use for the wolf:
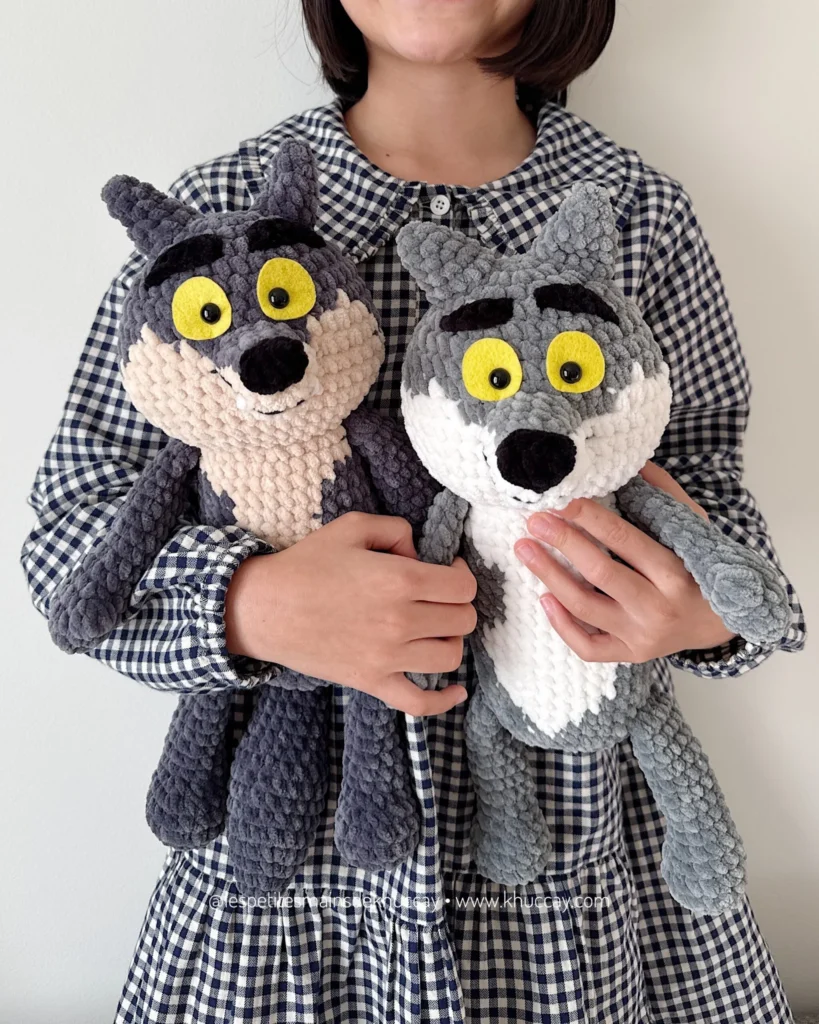
Dark grey version: Grey 122 (2 skeins), Beige 05 (1 skein), White 01 & Black 124 (small amount)
Light grey version: Himalaya Dolphin Baby Grey 80320 and Cream 80308 or Katia Bambi Grey 314 and Cream 305
2. Color Pattern for the Belly
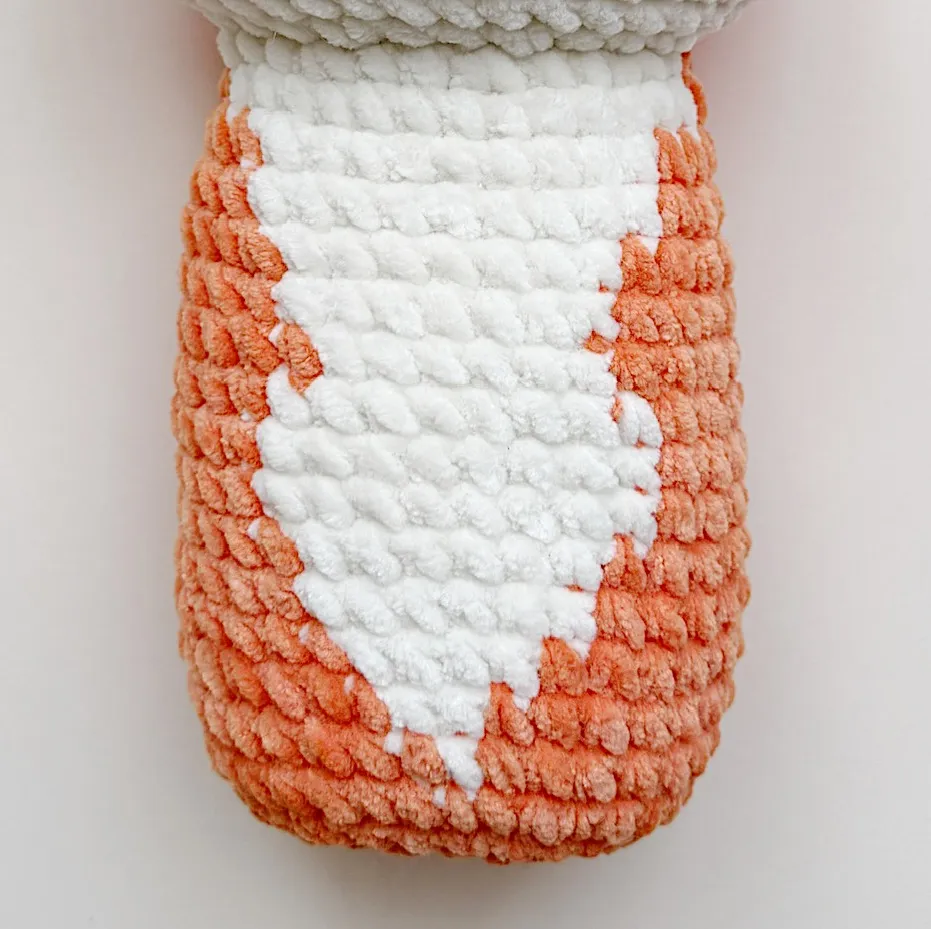
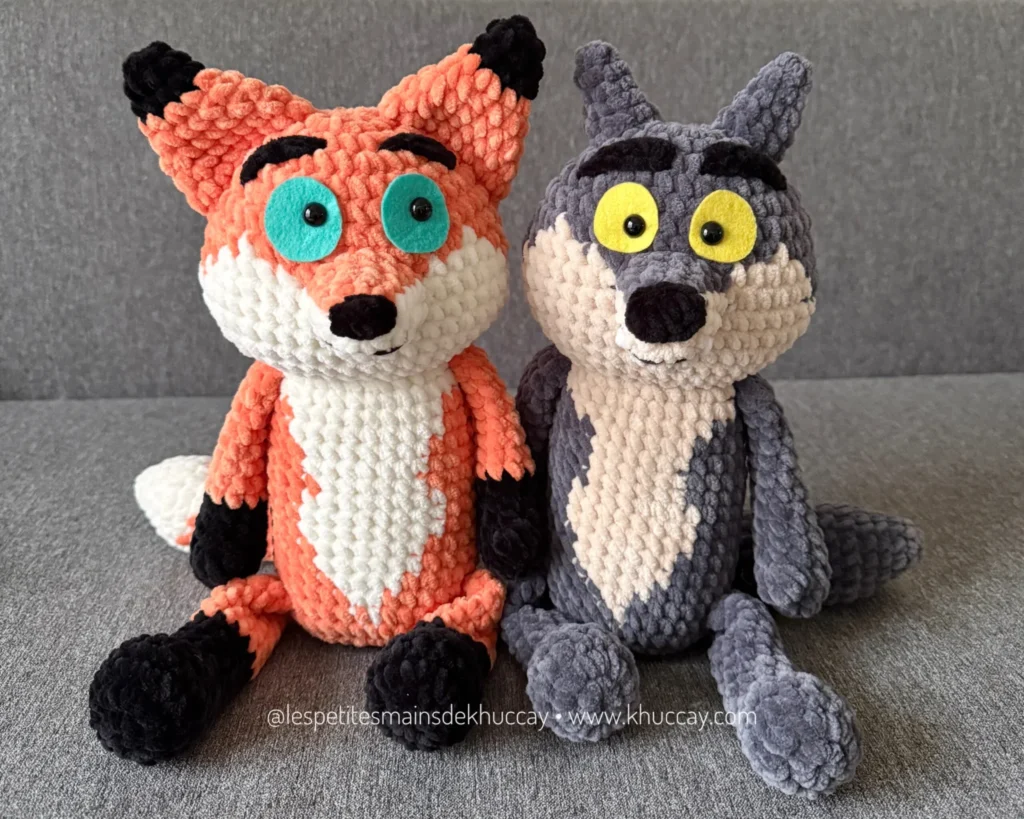
Both bellies have white/cream sections, but by modifying a few stitches on certain rounds, you can achieve a slightly different look.
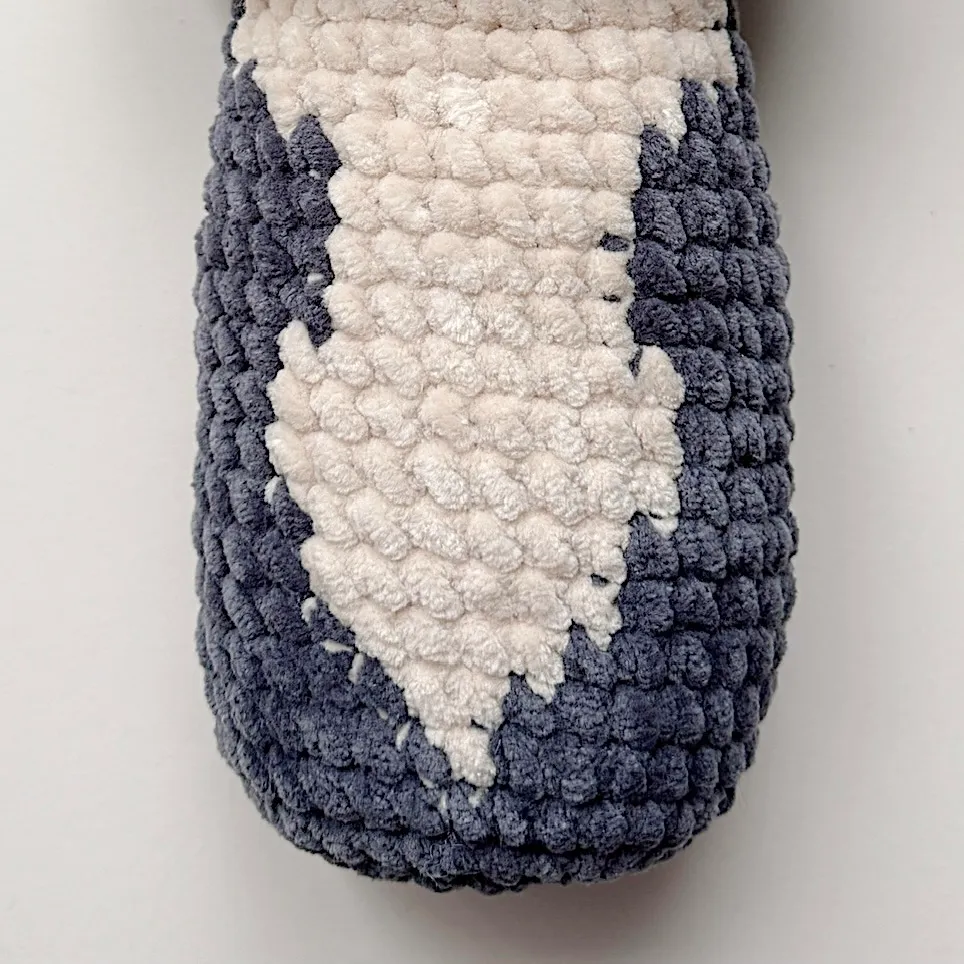
If you want to make the cream pattern as in photo 2, follow the instructions below for rounds 20 to 24. All other rounds remain identical to those of the fox (photo 1). (Simply replace the orange yarn with grey yarn, and the cream yarn with beige yarn.)
Round 20:
5 sc; beige yarn: 9 sc; grey yarn: 18 sc [32]
Rounds 21–24 (4 rounds):
7 sc; beige yarn: 6 sc; grey yarn: 19 sc [32]
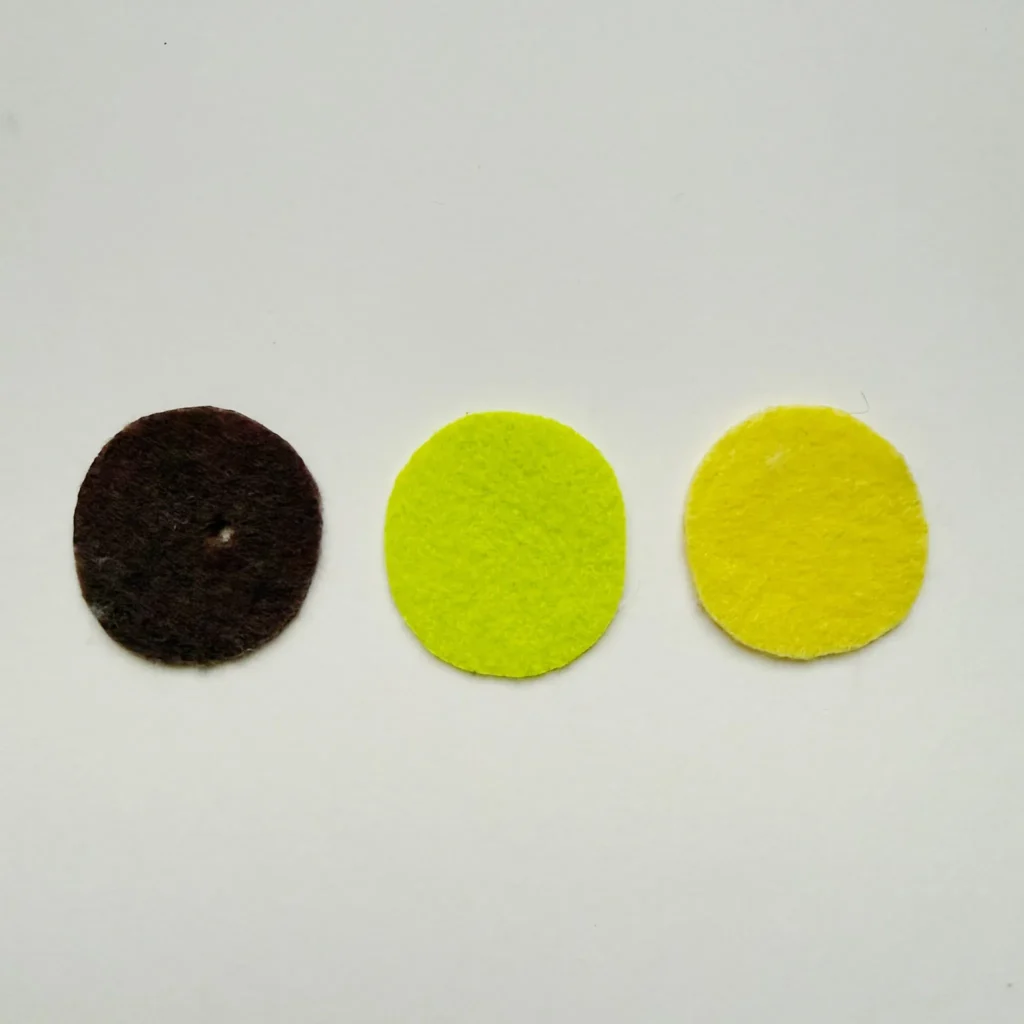
3. Change the Eye Color with Felt
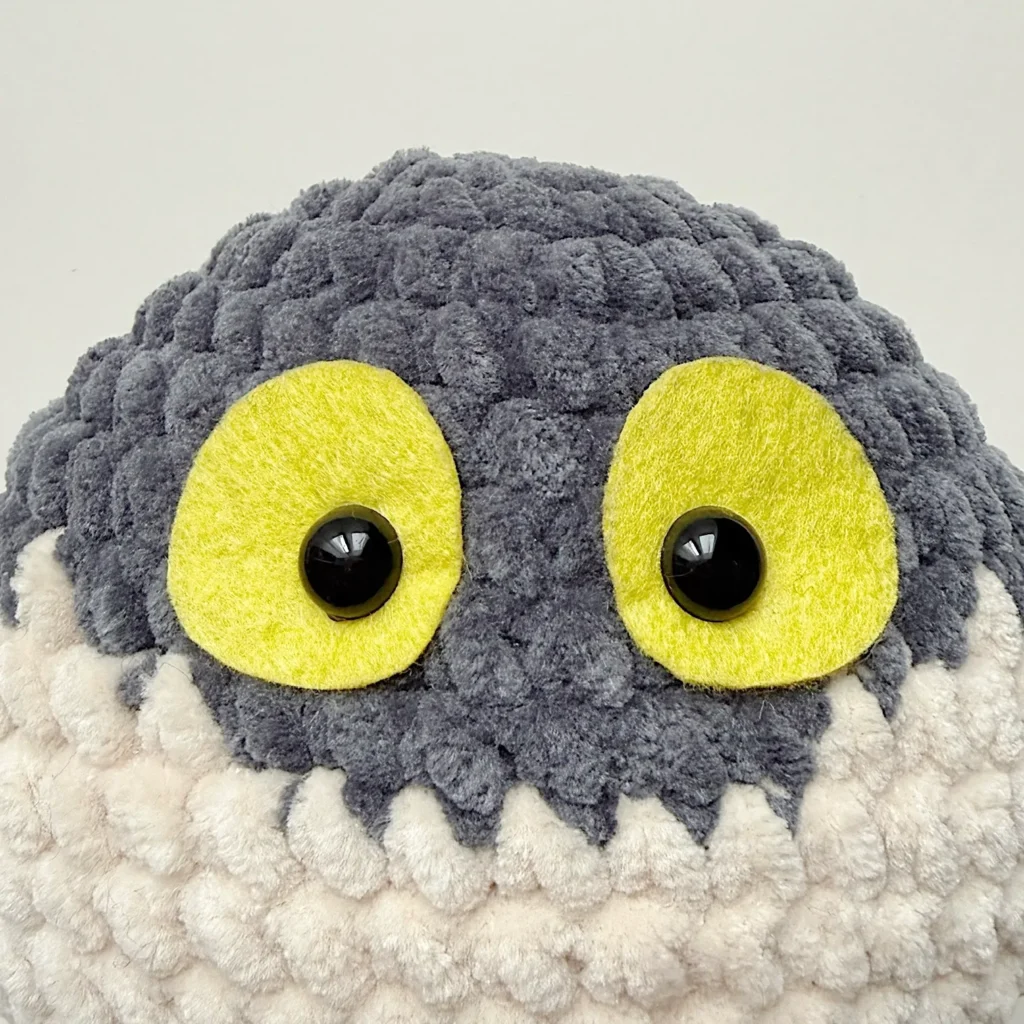
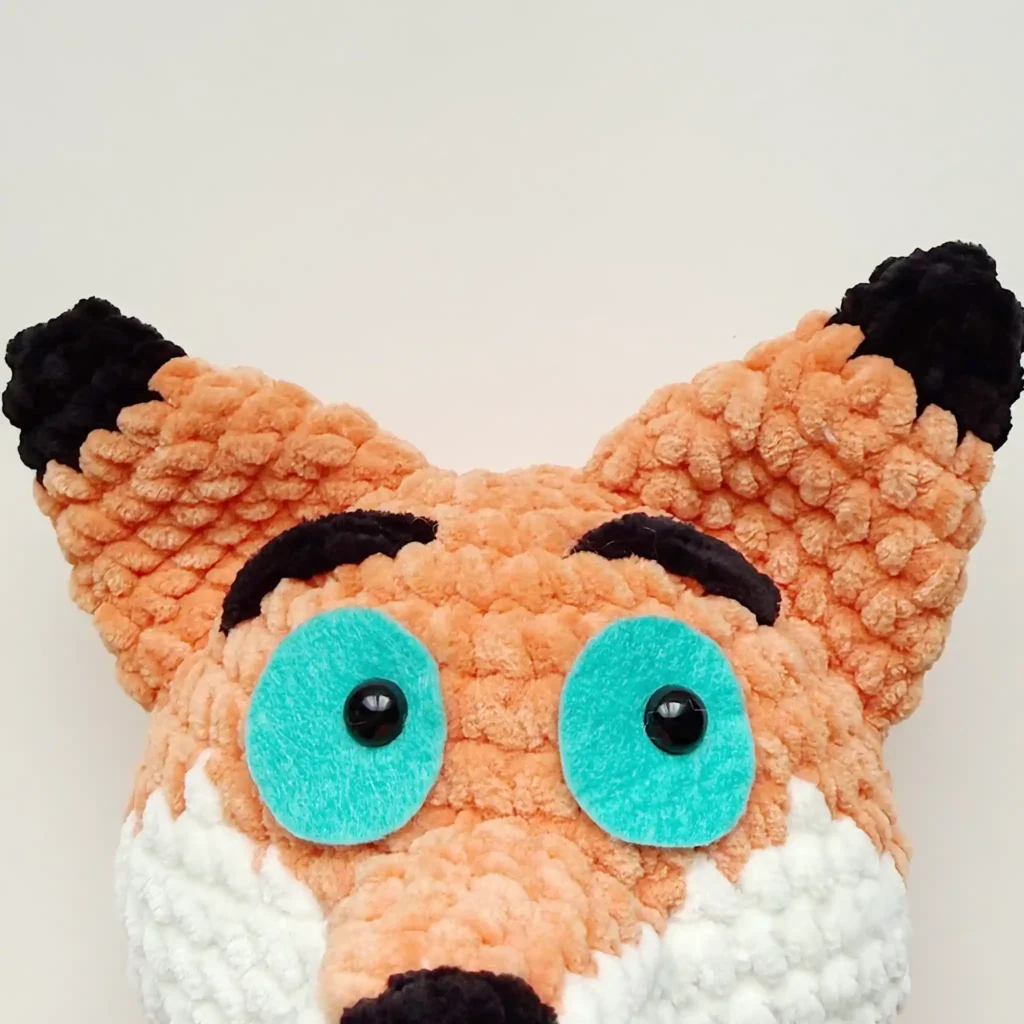
Changing the color of the felt around the eyes allows you to create very different styles. You can use any color you like: green, yellow, brown… (photo 1).
You can also crochet this circle and sew it on instead of using felt. This option is recommended if the plush is intended for young children who may put it in their mouth. In this case, replace the safety eyes with embroidered eyes.
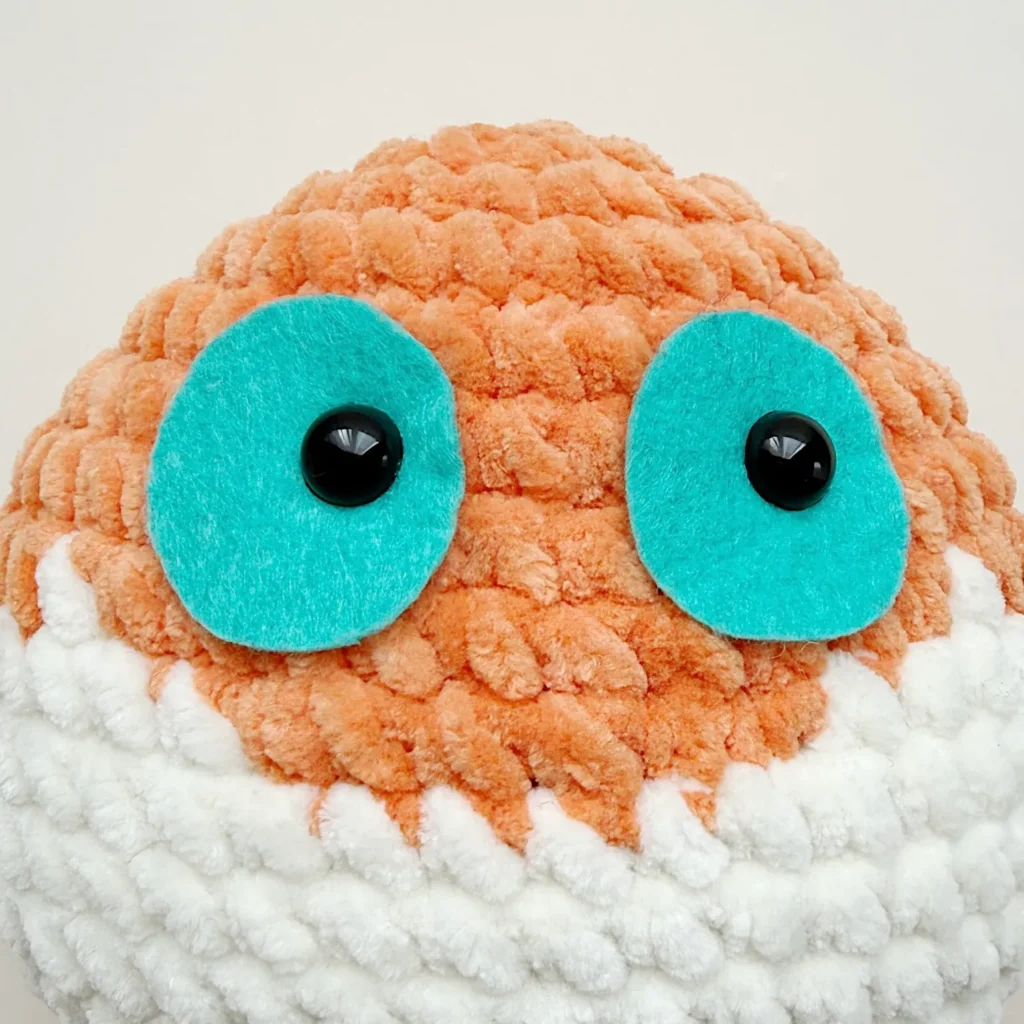
The placement of the safety eyes in the felt circle also influences the expression: eyes shifted to the right or left to give the impression that the animal is looking to the side (photo 2) or centered eyes (photo 3).
4. Create Different Eyebrow Styles
Eyebrows give a lot of expression to your plush toy.
You can:
– simply embroider the eyebrows with yarn (photo 1)
– or crochet them and sew them on for a thicker effect (photo 2)
Crocheted eyebrow:
5 ch, start in the 2nd ch from the hook, 1 hdc, 1 sc, 2 sl st.
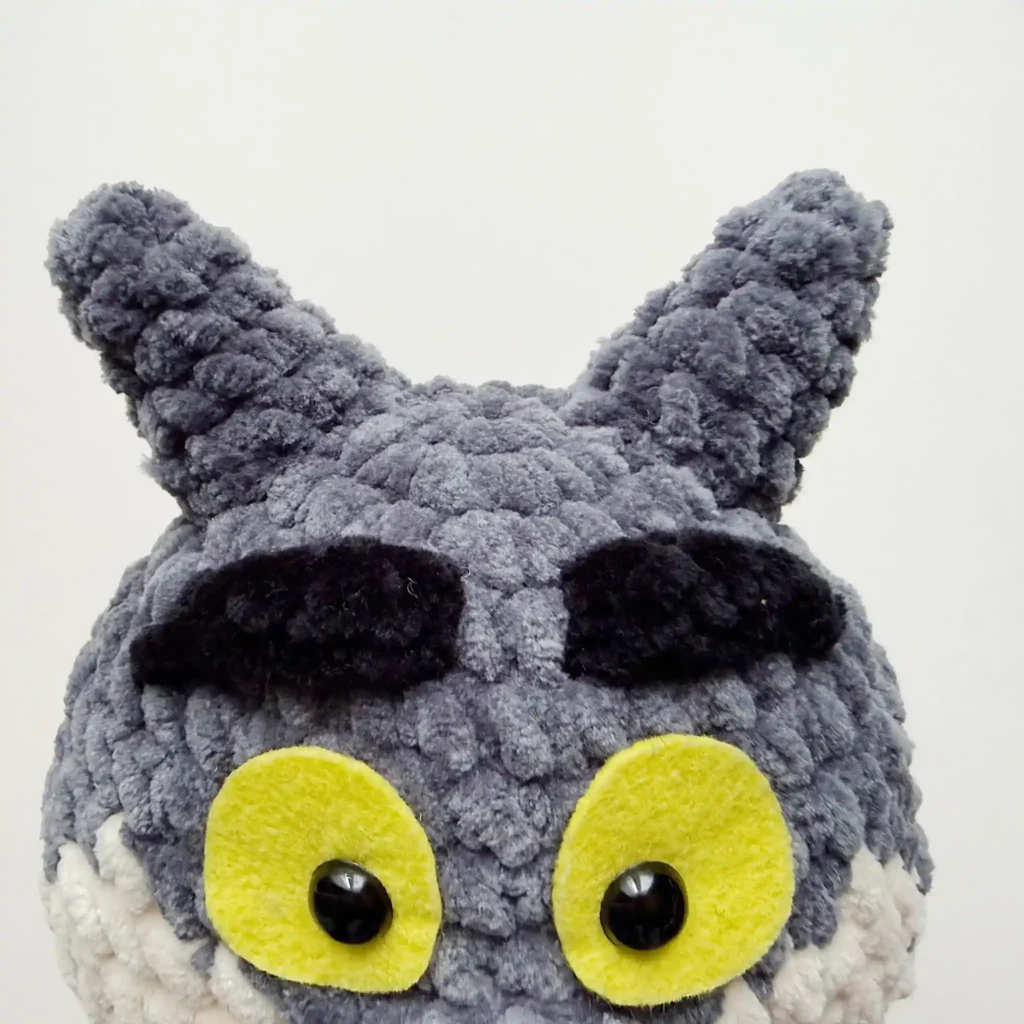
5. Modify the Ears
The fox’s ears are large and eye-catching.
For the wolf, I wanted smaller and thinner ears. Here is how to make them:
Round 1: 4 sc in a magic ring [5]
Round 2: 1 inc, 3 sc [5]
Round 3: 1 inc, 4 sc [6]
Round 4: (1 inc, 2 sc) 2 times [8]
Round 5: (1 inc, 3 sc) 2 times [10]
Round 6: (1 inc, 4 sc) 2 times [12]
6. The Nose
The snout follows the same pattern, but if you want a larger and more expressive nose, you can crochet it like this:
4 ch, start in the 2nd ch from the hook, 2 sl st, {1 sl st, 1 ch, 2 sc, 1 hdc} in the last ch; continue on the other side of the chain, 1 dc, {1 hdc, 2 sc} in the last ch.
7. The Tail, Legs, and Arms
You can make them entirely in a single grey color like the wolf, or add a white section (for the tail) and a black section (for the arms and legs) to add more details like the fox.
8. Add Expressions by Embroidering the Mouth or Teeth
Embroidering the mouth or teeth allows you to give even more personality to your plush toy. Depending on the shape and placement of the stitches, you can create a gentle, mischievous, or more wild expression.
Creating a plush toy your own way takes a little time, but with small personal touches, you can truly transform it according to your wishes.
I hope this will help you create your own plush toys.
Feel free to share your ideas and creations with me.
Have fun crocheting! 🧶