A creative blog filled with crochet patterns, beginner-friendly tutorials, and a handful of delicious recipes.
Mini Cat Ellia Crochet Pattern
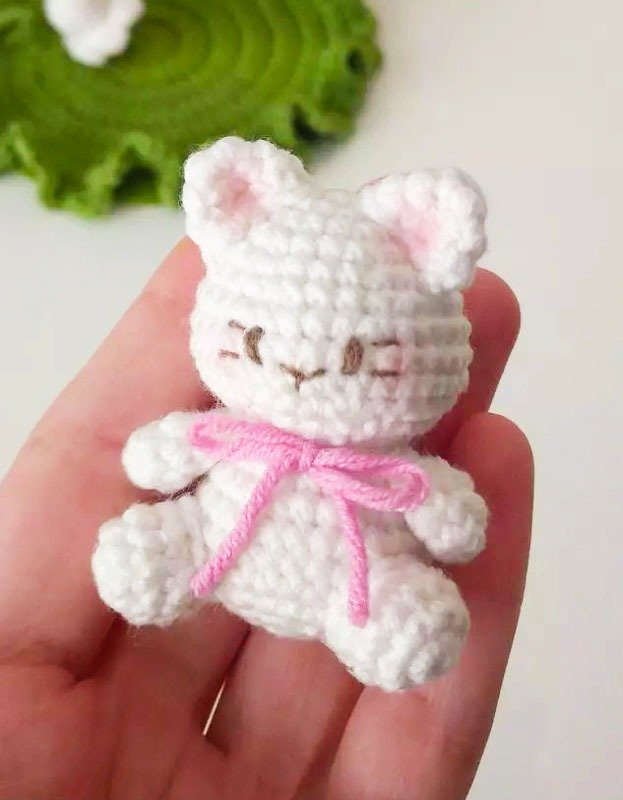
How about crocheting a mini cat that fits right in the palm of your hand? This adorable and simple project is a delight to make. Once you’ve finished crocheting the cat, you can tie a ribbon around its neck or even create a small bowtie for an extra touch of charm. Mini Cat Ellia is a perfect amigurumi toy that children will adore. Let’s get started!
Mini Cat Ellia Amigurumi
Designer
22_1011
Abbreviations
- MR: Magic Ring
- Lm: Chain
- fM: Single Crochet
- Abn: Decrease
- zun: Increase
- m: Stitch
Head and Body
- Magic Ring, 6 stitches (6)
- 6 increases (12)
- (1 fM, zun) x6 (18)
- (2 fM, zun) x6 (24)
- 24 fM (24)
- (3 fM, zun) x6 (30)
- (4 fM, zun) x6 (36)
8–9. 36 fM (36) - (4 fM, Abn) x6 (30)
- (3 fM, Abn) x6 (24)
- 12 decreases (12)
- 12 increases (24)
- 24 fM (24)
- (3 fM, zun) x6 (30)
16–18. 30 fM (30)
Begin stuffing the body.
- (3 fM, Abn) x6 (24)
- (2 fM, Abn) x6 (18)
- (1 fM, Abn) x6 (12)
- 6 decreases (6)
Finish stuffing and close the opening.
- Eyes: Attach at row 8.
- Nose: Embroider at row 9.
Legs (Make 2)
- Magic Ring, 6 stitches (6)
- 6 increases (12)
- 12 fM (12)
- (2 fM, Abn) x3 (9)
Slip stitch to finish. Leave a long tail for sewing and stuff lightly.
Arms (Make 2)
- Magic Ring, 6 stitches (6)
2–3. 6 fM (6)
Stuff lightly. Fold the arm and crochet through both sides with 3 single crochets. Leave a long tail for sewing.
Ears (Make 2)
- Magic Ring, 6 stitches (6)
- (1 fM, zun) x3 (9)
- (2 fM, zun) x3 (12)
Slip stitch to finish. Leave a long tail for sewing.
Assembly
- Legs: Sew the legs to rows 17–19 of the body.
- Ears: Attach the ears to rows 2–5 of the head.
- Arms: Sew the arms between rows 13–14 of the body.
- Add final touches, such as a ribbon or bowtie around the neck.
This quick and adorable mini cat is perfect for beginners and makes a wonderful gift or decoration. Happy crocheting!