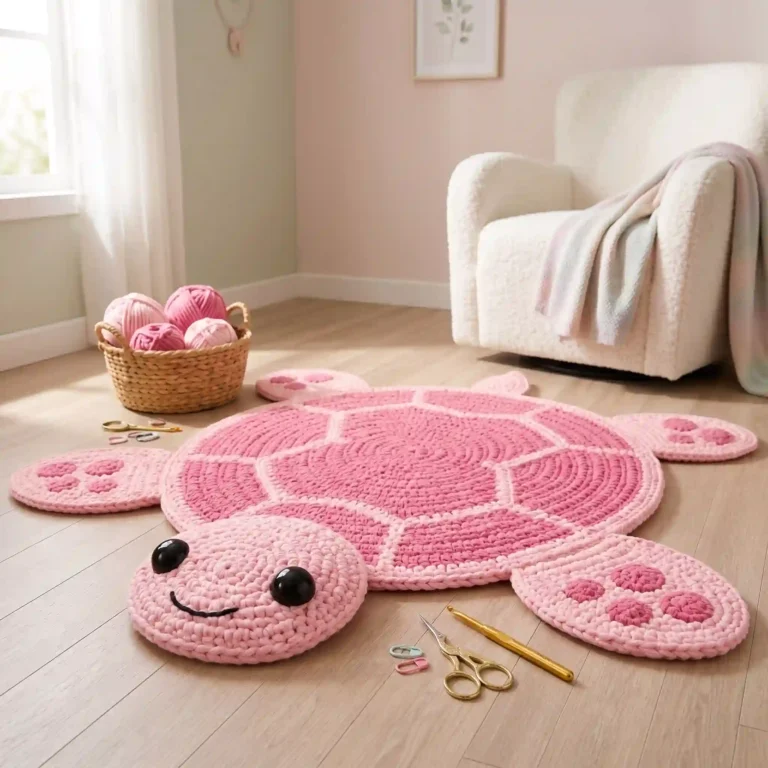
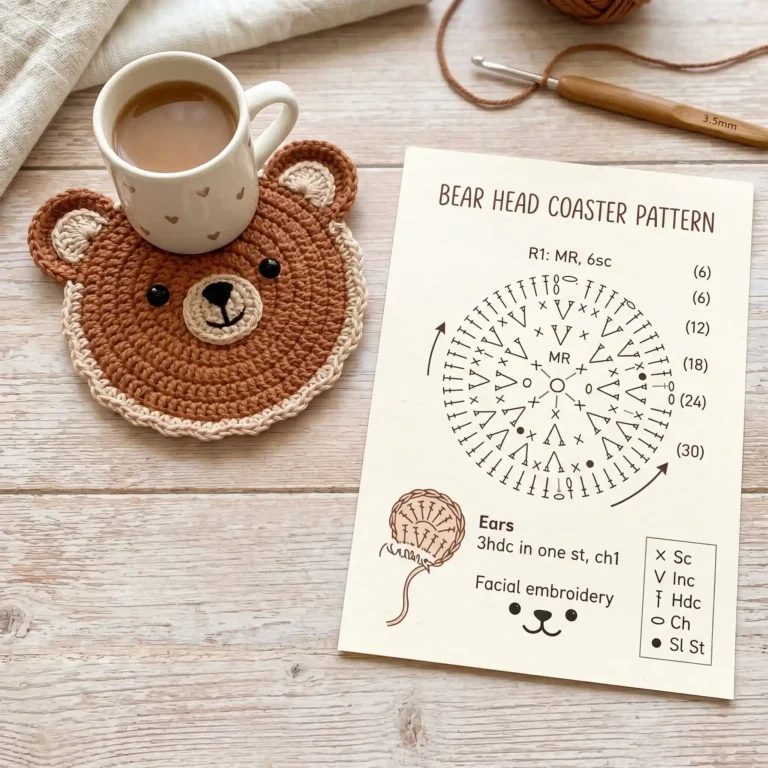
A creative blog filled with crochet patterns, beginner-friendly tutorials, and a handful of delicious recipes.
Cat Crochet Coaster Pattern (Free Step-by-Step Tutorial for Beginners & Advanced Crocheters)
Meta Description (SEO):
Learn how to make a cute cat crochet coaster with this free step-by-step pattern. Includes detailed instructions, materials, and tips for beginners and advanced crocheters.
Focus Keywords:
cat crochet coaster pattern, crochet coaster tutorial, free crochet pattern, DIY crochet coaster, beginner crochet projects, handmade coaster pattern, crochet cat pattern
Introduction (SEO-Optimized)
If you’re looking for a cute and practical crochet project, this cat crochet coaster pattern is perfect. This free crochet tutorial walks you through every step needed to create an adorable handmade coaster. Whether you’re a beginner or experienced crocheter, this DIY crochet coaster pattern is easy to follow and fun to make.
Full Crochet Pattern Instructions
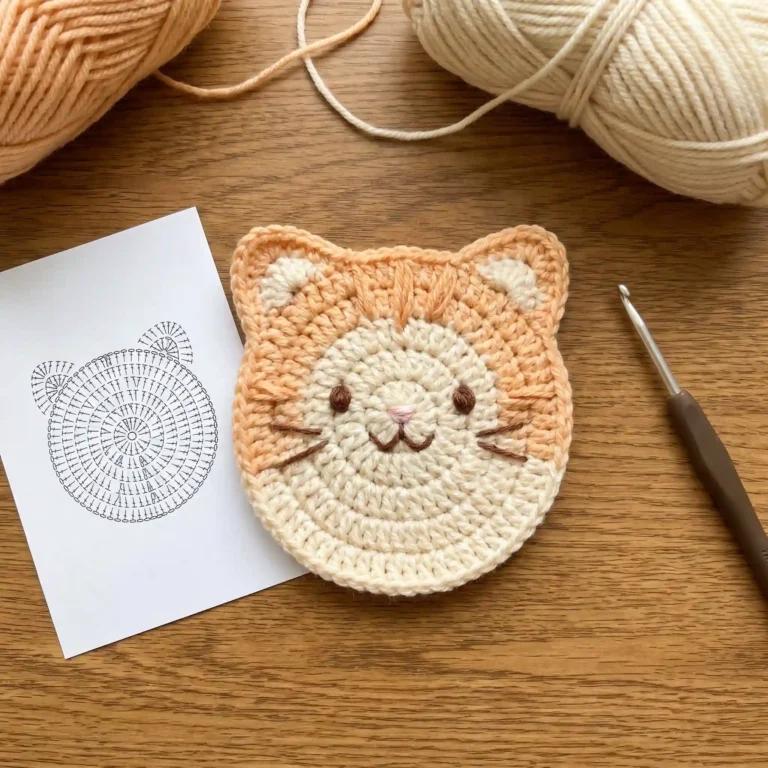
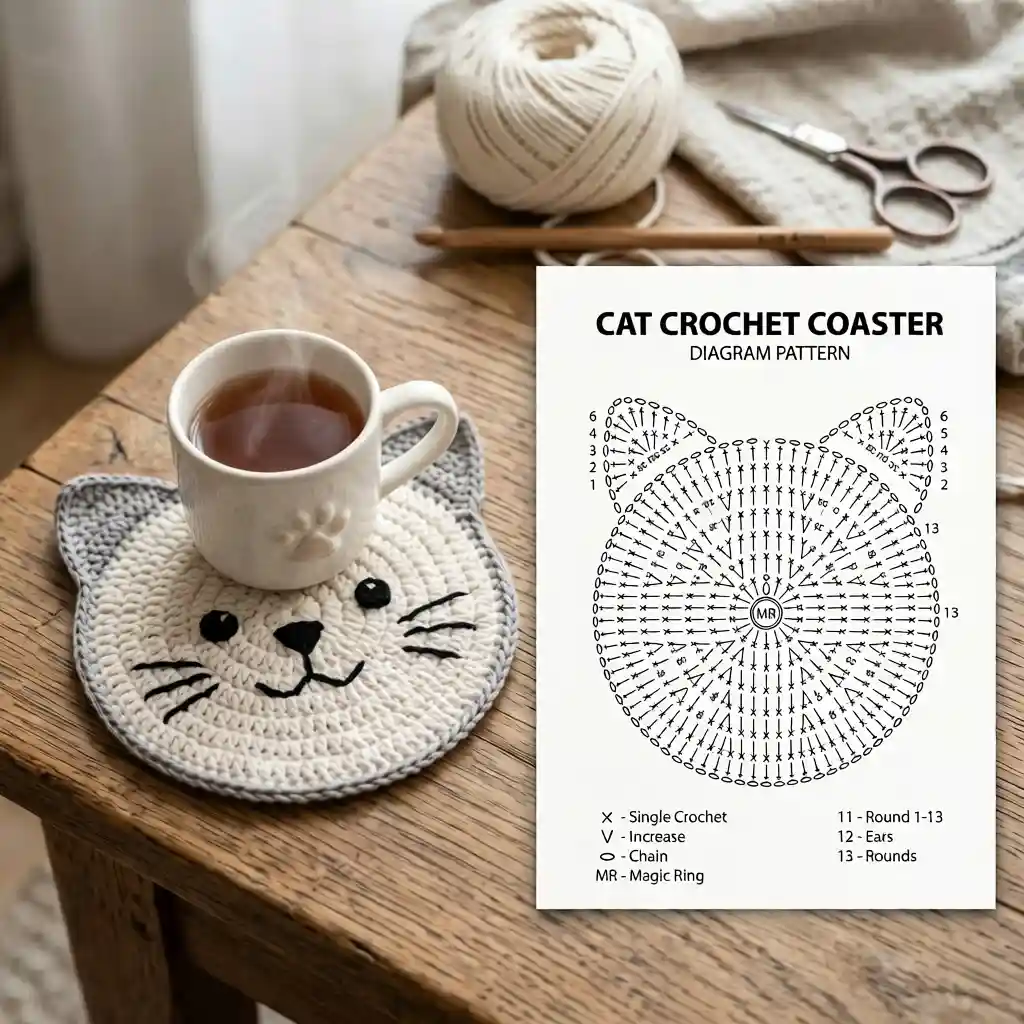
Here is the full, step-by-step crochet pattern, in English (US terms), to recreate the exact finished cat coaster shown in the photograph.
The pattern has been deciphered from a reliable text-based pattern with a matching photo, and adjusted to match the distinct details of the sewed-on, layered ears and embroidered features seen in the image.
Contradictions in the Provided Diagram: Please note that the diagram on the right has internal inconsistencies, such as multiple contradictory round and row counts (rounds 1-6 on the left, but 1-13 on the right; a separate “Ear Chart” with standard stitches not matching typical flat ear points). The pattern below is a coherent instruction set to create the finished physical object, not a translation of the specific chart in the image.
Cat Crochet Coaster Pattern
Created in US crochet terms
Finished Size: Approx. 5 inches (12.7 cm) in diameter.
Materials:
- Yarn: Worsted-weight cotton yarn (cream/off-white for main face, gray for ears and borders, black for embroidery)
- Hook: US G6/4.00mm or suitable for worsted cotton
- Other: Tapestry needle, scissors, black embroidery thread.
Crochet Stitches and Abbreviations (Translation of Key):
ch: chaindc: double crochetdtr: double treble crochetinc: increase (work 2 single crochets into the same stitch)MR: magic ring / magic circlesc: single crochetsl st: slip stitchtr: treble crochet- (…): work all stitches inside parentheses into the same stitch or space
Pattern Instructions
Step 1: Main Face (Round Body)
Use cream yarn.
The main body is made using standard single crochet circle increase rounds. Work in joined rounds: join to the first stitch of each round with a sl st and ch 1 (ch 1 does not count as a stitch, always work your first sc into the same stitch as joining).
- Round 1: Make a
MR. Ch 1. Work 6scinto the ring. Join with asl stto the firstsc. (6 sts) - Round 2: Ch 1.
incin every stitch around. Join. (12 sts) - Round 3: Ch 1.
scin first st,incin next. Repeat*...*around. Join. (18 sts) - Round 4: Ch 1.
scin next 2 sts,incin next. Repeat*...*around. Join. (24 sts) - Round 5: Ch 1.
scin next 3 sts,incin next. Repeat*...*around. Join. (30 sts) - Round 6: Ch 1.
scin first 2 sts,incin next.scin next 4 sts,incin next. Repeat*...*around until 2 sts remain.scin last 2 sts. Join. (This keeps the circle round and flat. 36 sts) - Rounds 7–12: Continue standard increasing logic (
(sc in n, inc)repeats) until the coaster reaches its final size of 12 rounds. A common pattern modification to keep a circle round and flat is to divide the first increase group into two (e.g., in Round 7:(sc in 5, inc)repeat; in Round 8:sc in 3, inc, (sc in 6, inc)repeat, finish withsc 3). Continue until Round 12 which will have 72 sts total. - Round 13: Ch 1. Work
scinto every stitch around. Join. Fasten off invisibly. Weave in ends.
Step 2: Sewed-On Ears (Make 2)
The ears in the photo have distinct layers. You will make a flat triangle in gray, build definition on top with cream, and add a contrast border. This composite pattern creates the detailed look of the coaster in the photo.
- A. Triangle Base (Gray):
- Magic Ring. Work 2
scinto ring. Ch 1, turn. - Row 1: 2
scin each st (4 sts). Ch 1, turn. - Row 2: 2
scin first st,scin next 2, 2scin last (6 sts). Ch 1, turn. - Row 3: 2
scin first st,scto last st, 2scin last (8 sts). Do not fasten off gray. - B. Top Motif and Edging (Join Cream):
- Join cream color. Ch 1.
- Working back down the slanted edge, work a point and the opposite edge:
scalong edge. - At the top tip point, work:
(sc, dc, tr, dtr, tr, dc, sc). This forms the shape of a realistic cat ear. - Continue
scalong the other slanted edge. Fasten off cream. - C. Contrast Border (Return to Gray):
- Return to the gray yarn at the base.
- Work a simple round of
single crochet (sc)along the entire outer edge of the ear piece. This creates the neat gray contrast border seen in the image. Fasten off, leaving a long gray tail for sewing.
Step 3: Face Embroidery
- A. Whiskers and Mouth: Using black embroidery thread and a tapestry needle, create straight lines for the whiskers and a simple curved ‘Y’ shape for the mouth.
- B. Nose: Embroider a small, inverted triangle for the nose.
- C. Eyes: Create eyes using a large French knot or satin stitch. Use a stitch of white thread as a “sparkle” detail.
Step 4: Assembly
- Using a tapestry needle and the long gray tail from the ears, sew the ears neatly to the top edge of the main cream body. Make sure they are symmetrical and angled for a realistic look. Weave in all remaining ends.
Tips for Best Results (SEO Section)
- Use 100% cotton yarn for better absorbency and durability
- Keep stitches tight for a professional-looking crochet coaster
- Block your finished coaster to maintain a perfect round shape
Conclusion
This cat crochet coaster pattern is a fun and functional project that adds charm to any space. Perfect as a handmade gift or for selling in your crochet shop, this easy crochet coaster tutorial is a must-try.